Visit Japan Web: how to fill in the forms before you leave
Visit Japan Web is the platform created by the Japanese government to speed up and streamline the procedures for arriving in Japan.
This service allows you to pre-register the documents required for entry into Japan.
Completion is NOT mandatory but recommended.

Registration/login
First go to the Visit Japan Web site and register or log in.

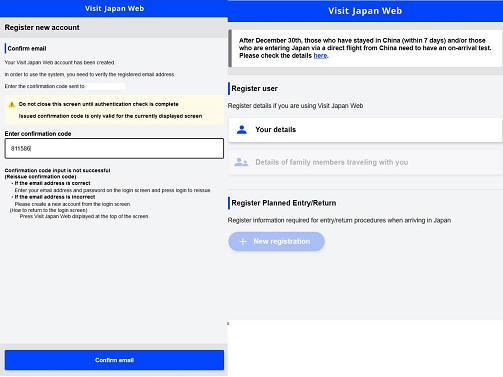
After entering your registration e-mail and choosing your password, you will be sent a code by e-mail, which you will use to confirm your account. Once the account has been confirmed, you can log in with the e-mail and password you have chosen.
We then proceed to enter our data.
Personal data entry
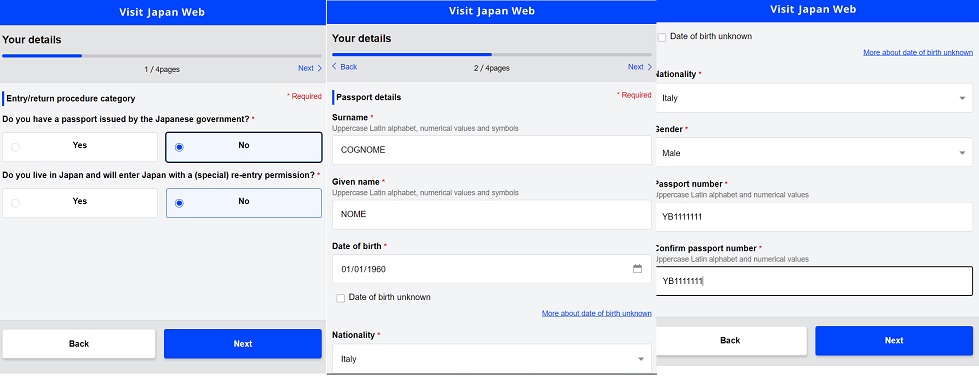
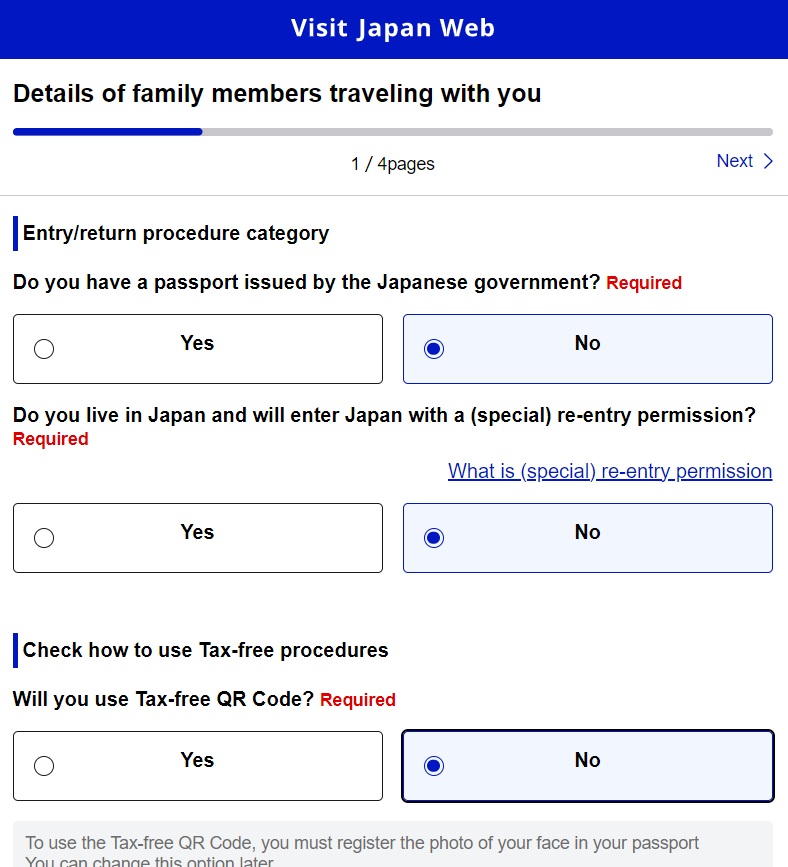
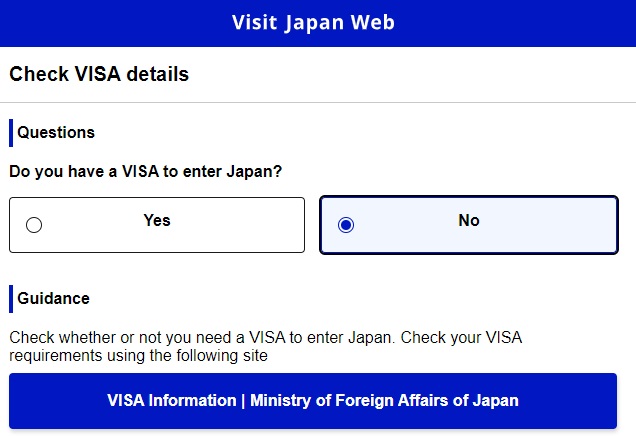
On the first page select ‘No’ for both entries.
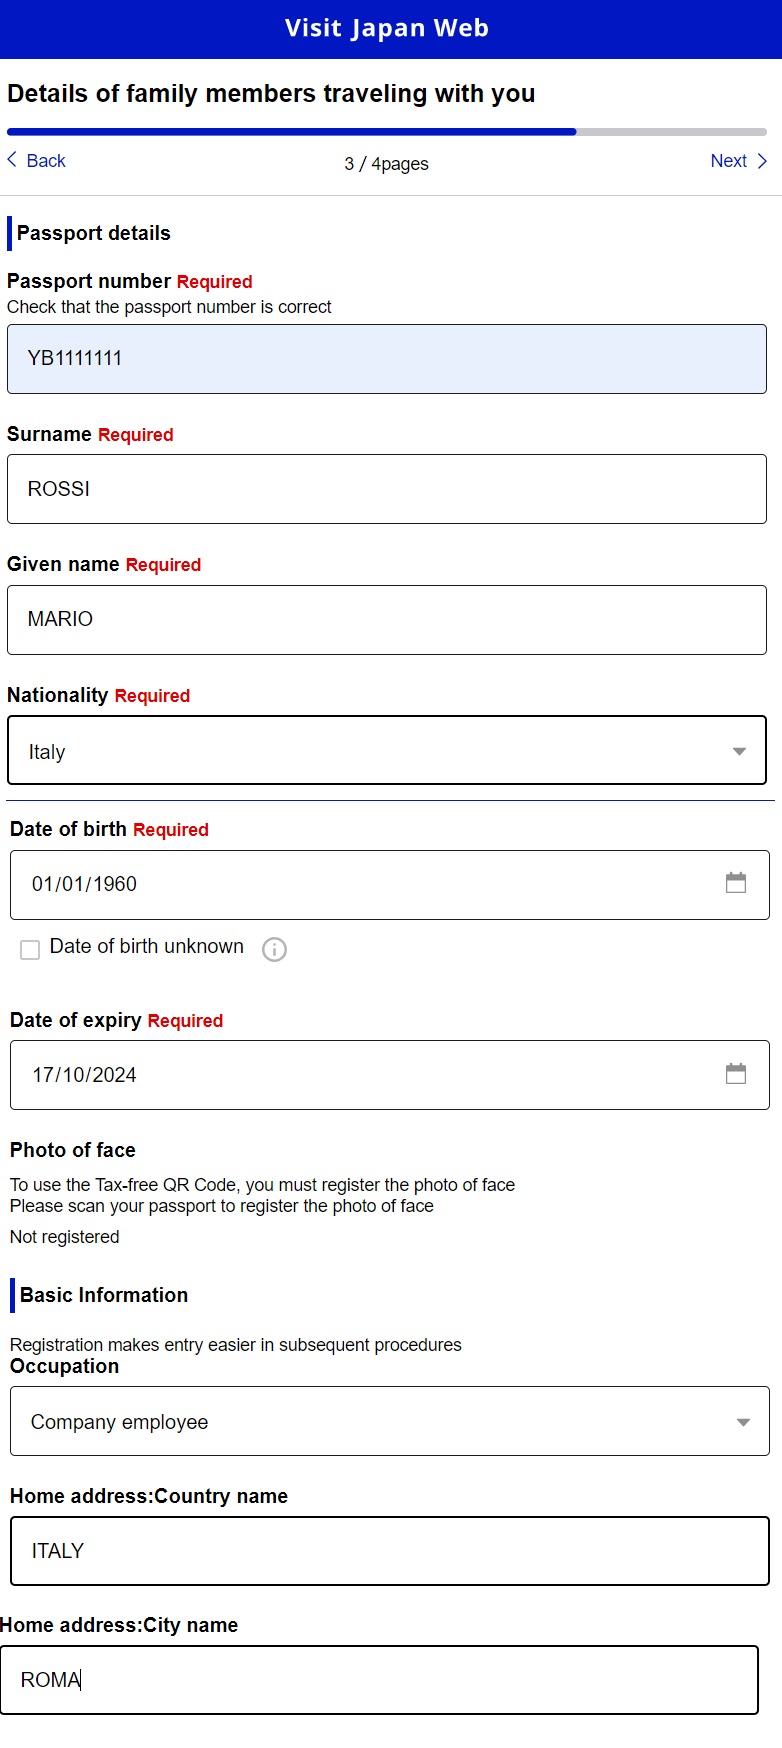
On the second page, enter your personal data: surname, first name, date of birth, nationality, gender and passport number.
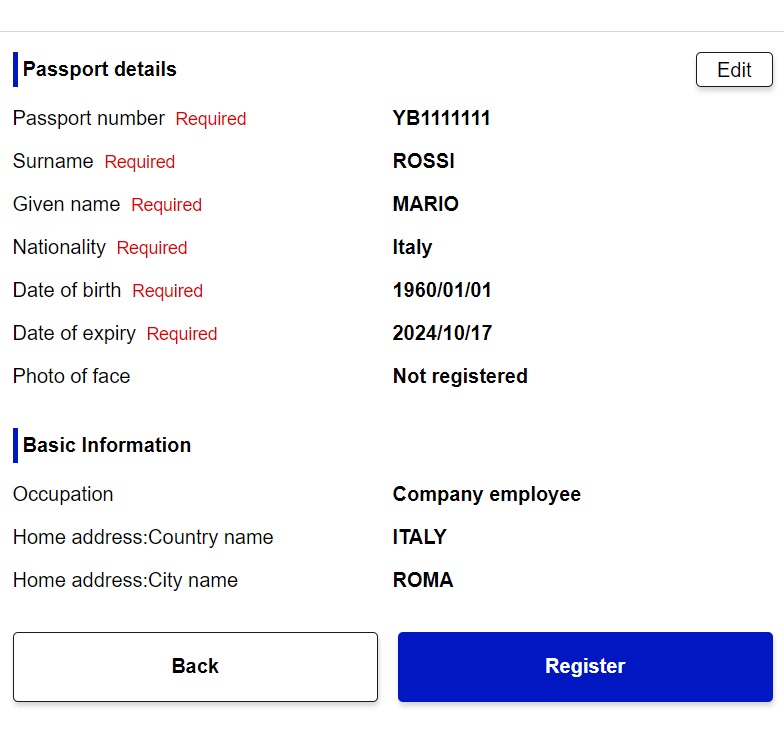
Once you have entered your data, you will arrive at a summary page (where you can edit the data entered) and proceed with registration. You can now enter the data of your family members. We recommend, however, that you register for each family member.
Entry of travel data
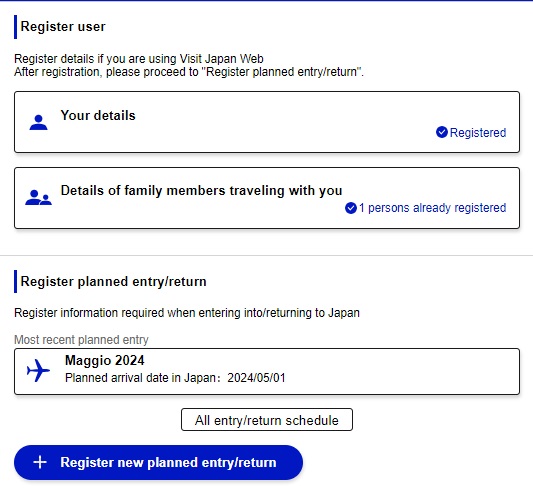
To enter your travel data, click on button “+ Register new planned entry/return”.
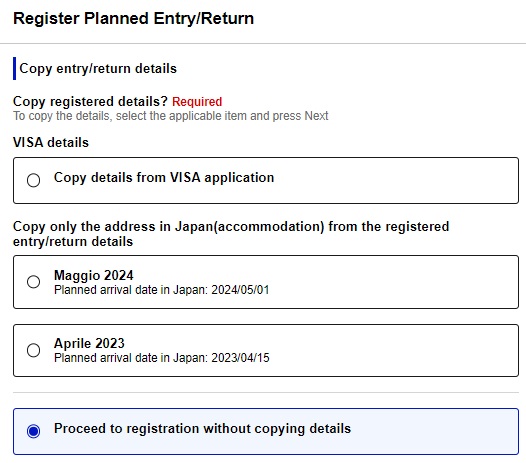
Click on ‘Proceed to registration without copying details’. If you have already registered other trips, you can import data from another trip.
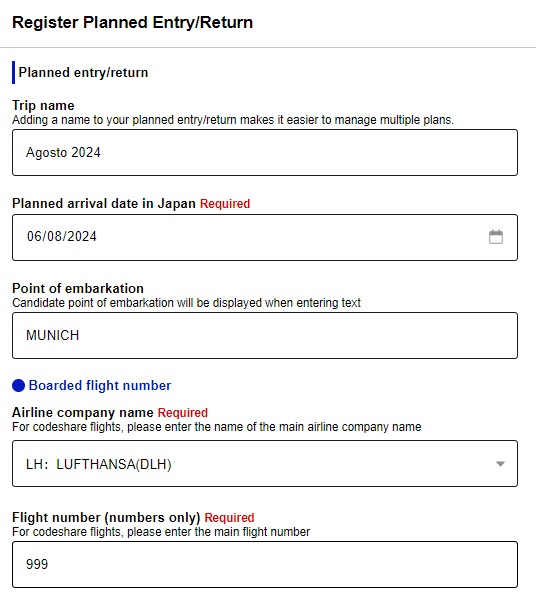
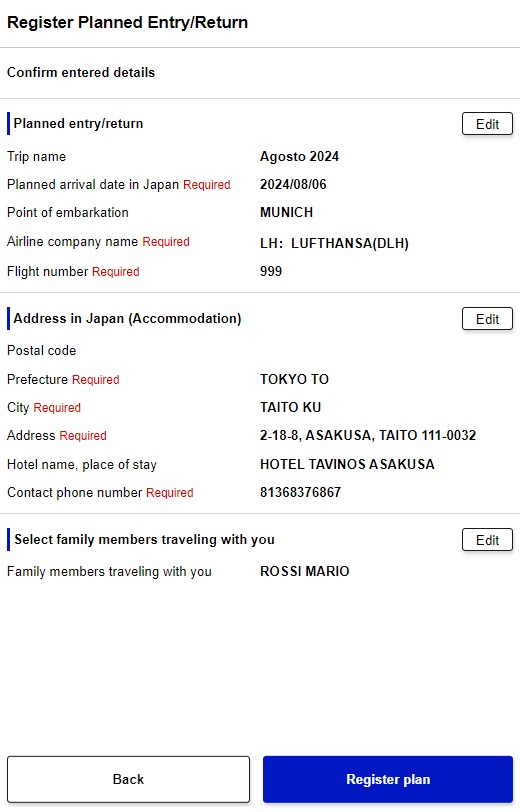
Enter the name of your trip (any name will do), the date of your arrival in Japan, the airport from which your first flight departs (if you have a stopover in Paris, you must put Rome, Milan, Naples, etc.), the airline of your last flight (the one arriving in Japan) and the flight number of your last flight (the one arriving in Japan). If your flight is direct from Rome, you must put Rome), enter the company of the last flight (the one arriving in Japan) and the flight number.
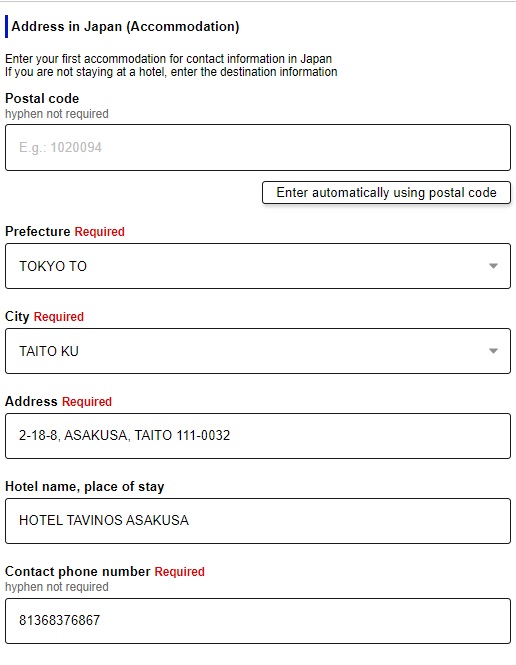
Enter the details of the first hotel where you will be staying.
Select any persons coming with you (whom you will have already registered, see procedure below). You will then see the summary screen with the data you have entered. Click on Register Plan. Your trip will then appear on the start screen.
Procedure Immigration clearance and Customs declaration
This procedure allows you to fill in the classic ‘slip’ that is usually handed out on the plane before arrival in Japan. In this procedure you have to fill in your travel details (most of them you have already entered in the previous procedures) and answer 3 simple questions (have you ever been removed from Japan with a deportation order or been denied entry in the past, have you ever been charged in Japan or abroad, are you carrying prohibited items such as drugs or weapons).
You also fill in applications for customs.
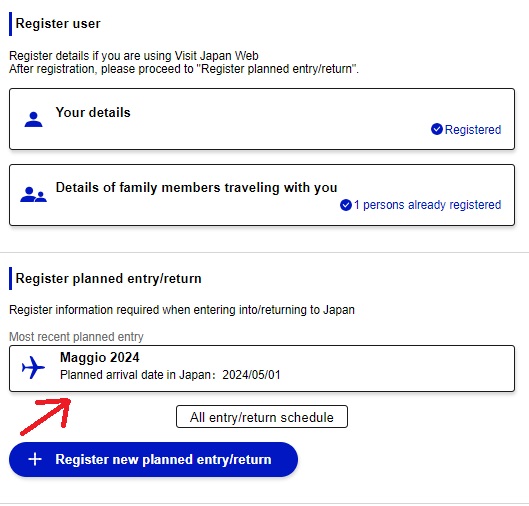
On the homepage, click on the journey you have previously created.
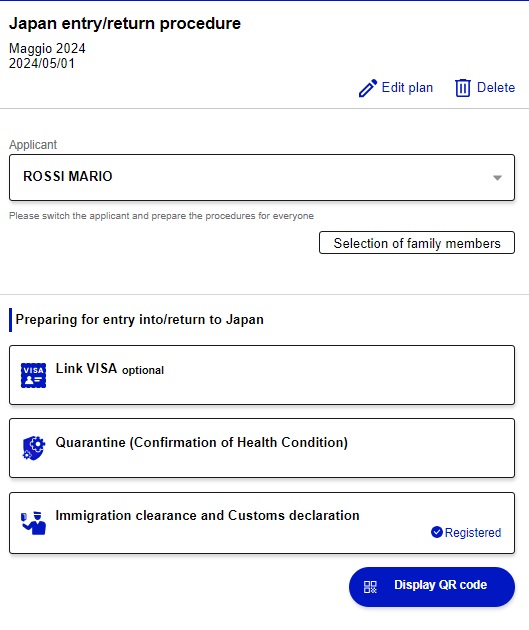
Select the person and click on ‘Immigration clearance and Customs declaration’.
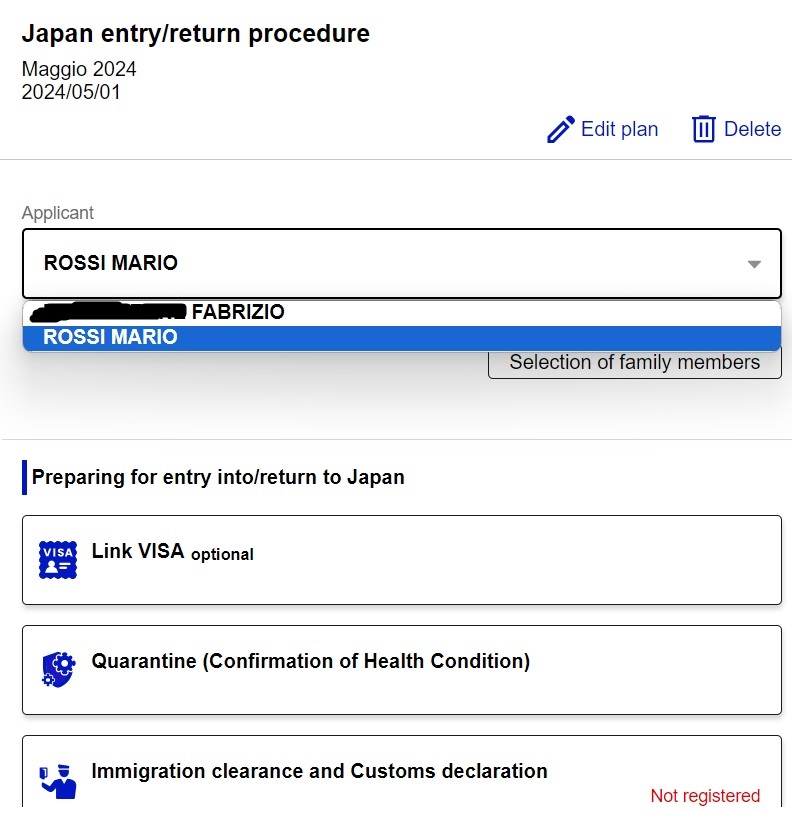
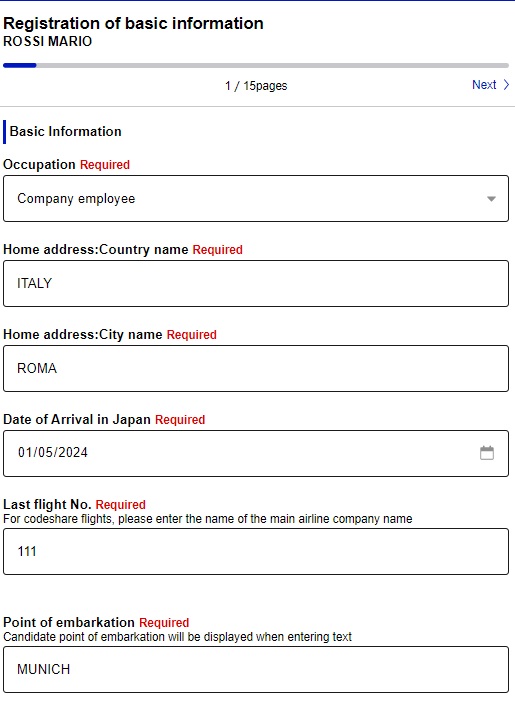
The data on the first page should already be filled in, because it fetches the trip data. If this is not the case, enter the correct data.
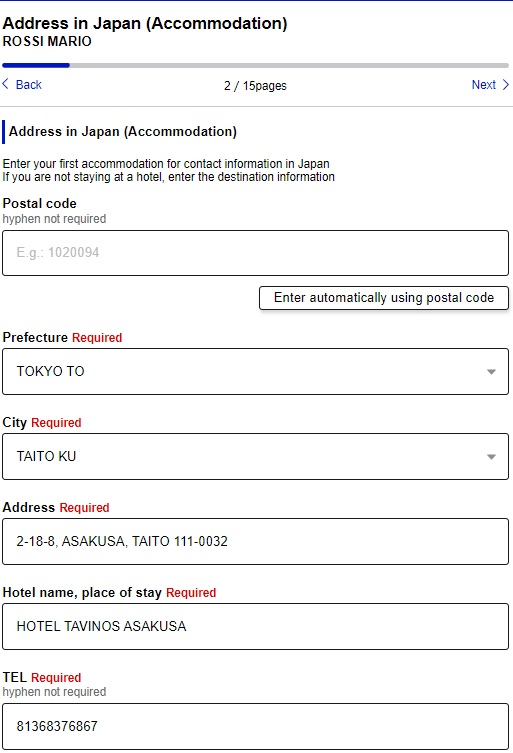
On page 2 enter the data for the first hotel.
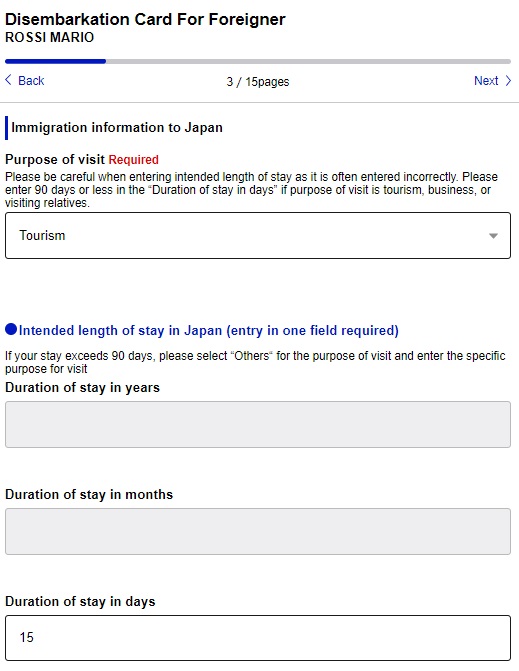
On the third page, enter tourism and how many days you will be in Japan.
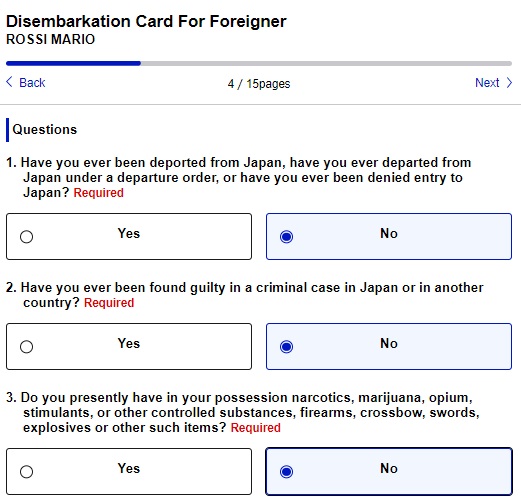
On the fourth page answer NO to the three questions.
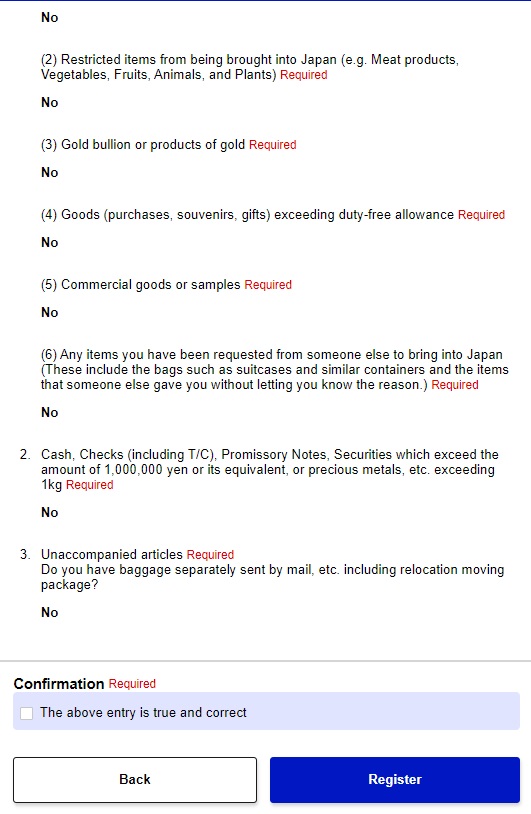
On the fifth to the twelfth page always answer NO
On the 15th and final page you will see the summary with all the data entered. Put a tick at the bottom on ‘Confirmation’ and click on Register. The person’s registration will then be completed. Click on Back to Entry/Return Procedure.
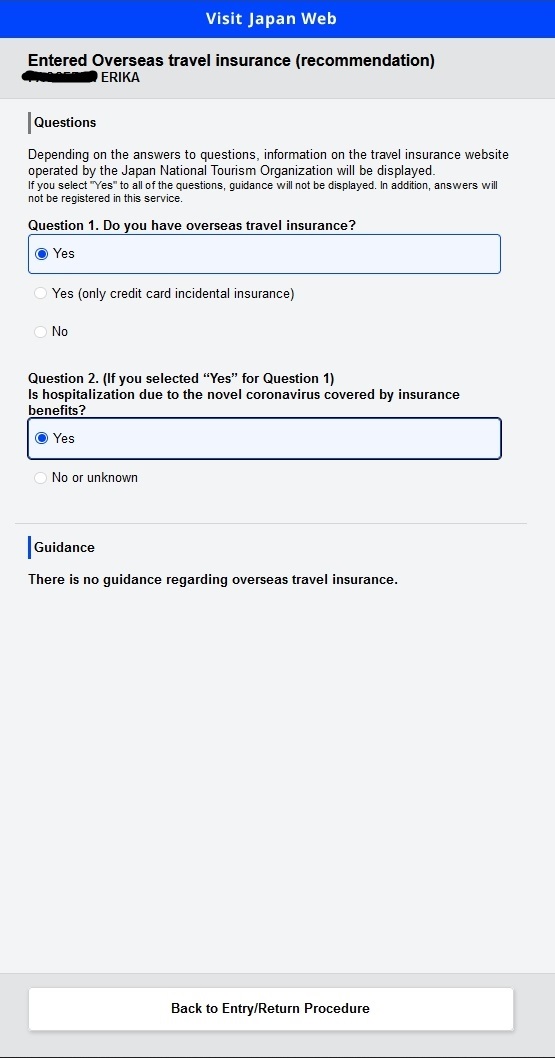
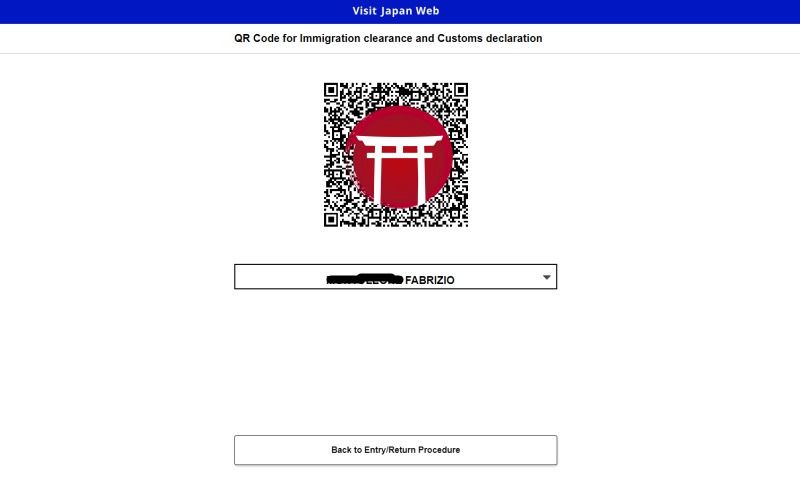
Back on the travel page, you can now download the QR code by clicking on Display QR code. I recommend doing this from your smartphone and saving a screenshot.
Repeat the operation for all people.
IMPORTANT: everyone must have their QR code on their smartphone or printed out
Adding a family member
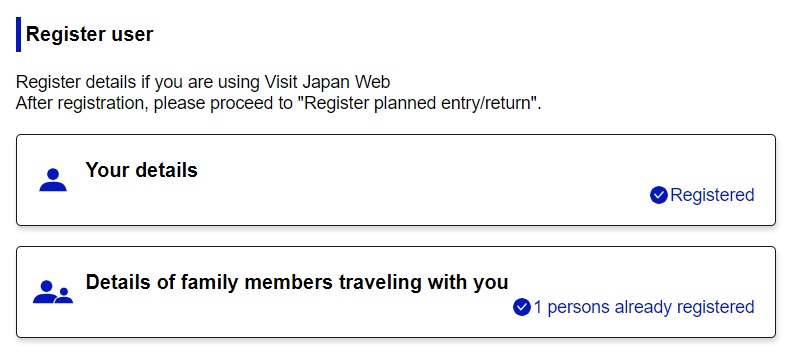
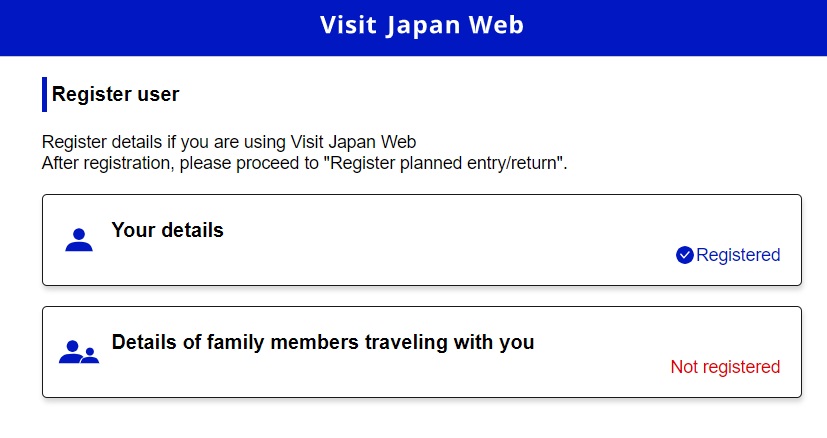
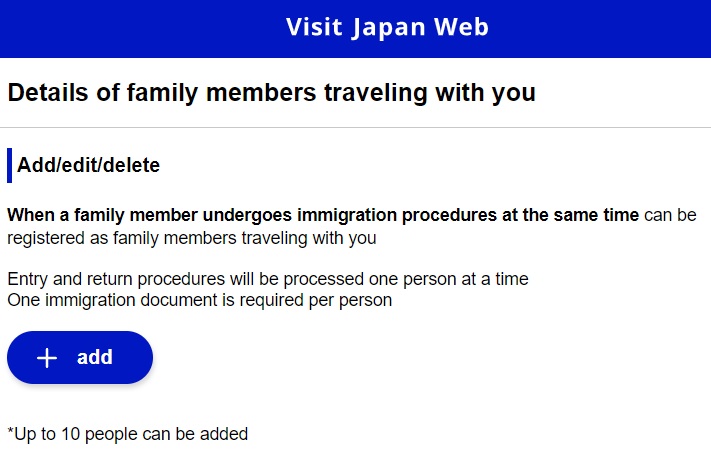
With your registration you can add one or more family members travelling with you. On the main page click on ‘Detail of family members travelling with you’ and on the next screen click on + add.
You then tick ‘no’ in the first two questions. In the third question, you can choose to put ‘Yes’ in case you want the tax-free QR Code or ‘No’.
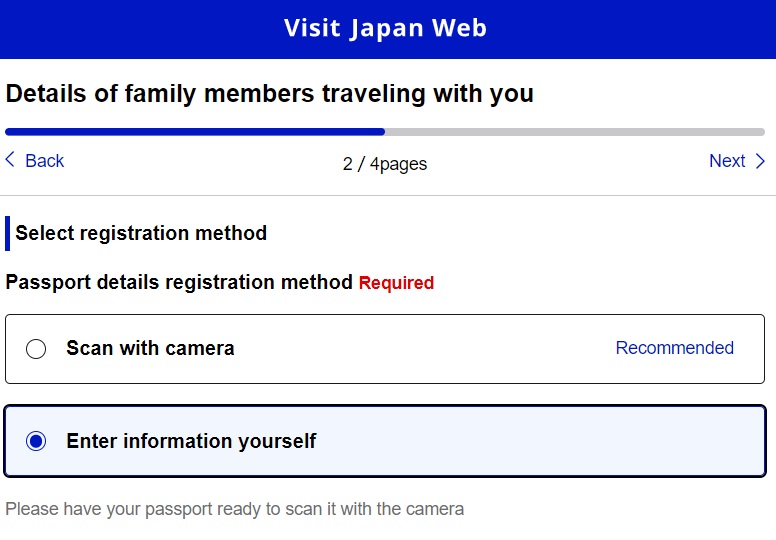
In this screen you can choose whether to enter the data by scanning the passport with the camera or by entering the data manually. I recommend using the second option, as the camera often does not recognise the passport.
Then fill in the details of your family member.
After clicking Next, you will be offered a summary screen with the data you have just entered. If the data are correct, click on ‘Register’.
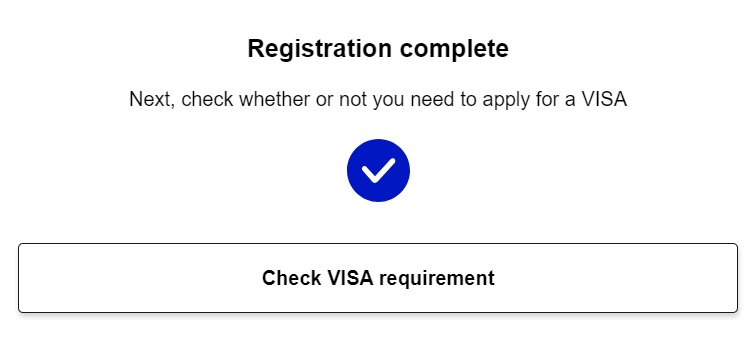
A window will open where you must click on ‘Check VISA requirement’. Then click on ‘No’ and click on ‘Back to Home’.
It will now appear on your homepage that you have registered a family member. You can now enter the journey you registered earlier. Select the person who will come with you and click on ‘Immigration clearance and Customs declaration’. (See guide above).
